View Basket

This thread has been locked and can no longer be posted to.

Where to start?

Posted at 15:04:57 Wed 6 Oct 2021

Hello everyone, glad to finally be here.

I have wanted a Hornby train set since I was a child, and now I have the means to finally invest some time and money, I’m lost at where to start. I have recently begun to board my loft space, as it’s something I’ve long wanted to do, and realised I would have enough space to assemble some track, and later on, some landscape.

I have begun to watch beginner videos and how to get started, but I have to admit that I feel a bit overwhelmed with where to start.

My plan was to start with a starter set, more specifically the R1271M iTraveller 6000 set, because it comes with the HM 6000 which I really like the look of.

I have come here to ask the experts what are a few of the do's and don’ts when starting out? It feels like this is a hobby where the sky is the limit in terms of how much you can spend, both in time and money, and how much space you can use.

I really like the look of the DDC, but is this for more advanced users, or is it something you can use from the start?

The RailMaster seems like something for large scale setups with multiple trains and connections, so is this something I should avoid until I’m more comfortable with how everything works?

I did try to keep this short, but there is so much I’d like to ask. For now, I’ll leave it here. If you have read all the way to this point, thank you, you’re a real trooper.

Thanks all.

My name is long, so just call me Lee.

Last Edited 15:08:30 Wed 6 Oct 2021

Posted at 19:00:37 Mon 27 Dec 2021

Oil on wagon axles? Not something I do. Might use a bit of dry lube such as graphite if I ever thought it would help.

Last Edited 19:01:51 Mon 27 Dec 2021
Posted 19:00:37 Mon 27 Dec 2021

Posted at 19:43:37 Mon 27 Dec 2021

DRC,

For clarity do you mean oil on the whole axle shaft or oil just to the bearings? I certainly have applied oil to my pin-point axle ends on coaches & wagons and would consider this normal.


Posted 19:43:37 Mon 27 Dec 2021

Posted at 23:26:20 Mon 27 Dec 2021

37lover - My apologies, I could have worded it better. Yes, the pin-point ends. Not the whole axle.

My name is long, so just call me Lee.


Posted 23:26:20 Mon 27 Dec 2021

Posted at 08:33:53 Tue 28 Dec 2021

DRC,

No apology needed but thank you for the clarification. In that case, my recommendation is to oil just as you would with a loco & tender [not too much though], and keep the wheels clean!


Posted 08:33:53 Tue 28 Dec 2021

Posted at 17:39:49 Thu 30 Dec 2021

Have a look at Sam'sTrains youtube channel, he has a beginner's video.

Body location: Planet Earth. Brain location: Planet GWR.


Posted 17:39:49 Thu 30 Dec 2021

Posted at 23:26:38 Wed 12 Jan 2022

Question about R618 double isolating track, does this separate power from one side of the track to another?

So for example, I attach this piece at the end of a point that I plan to use as a programming track. One side of the R618 is connected to the main track power outlet, then other side of the track is connected to the programming outlet, the loco is shunted past the isolating point, I can then do whatever I need to do on the programming track, then back the loco up back onto the main track.

If not, what is the purpose of this piece, and how does it work? I’ve tried to find information on it, but there doesn’t seem to be much out there.

Many thanks.

My name is long, so just call me Lee.

Last Edited 08:55:59 Thu 13 Jan 2022
Posted 23:26:38 Wed 12 Jan 2022

Posted at 08:43:01 Thu 13 Jan 2022

@DRC

All it is is a bit of track with a gap in both rails. It isolates one end from the other. You can achieve the same effect with insulated rail joiners and adjacent normal track. You can short these gaps using link wires or a switch for normal isolation purposes but not for your intended programming siding purpose.

To run your programming scenario you need a 6-pin DPDT centre off switch.

The centre pair of pins of the switch go to your isolated siding track rails.

One pair of outer pins go to your Controller Track output and the other pair go to your Prog output.

The method of use is throw the switch to Track and run your loco that needs programming onto the isolated track.

Then throw the switch to Prog to carry out programming.

The reason for the centre off is to ensure a definite null selection between the Track and Prog selections. What you must never do is connect the Prog output to the Track output or you will blow your controller. Your idea of shunting across the gap wired your way will kill the controller. Do it my way.

http://www.halton96th.org.uk/robs_rails.html

Last Edited 08:48:00 Thu 13 Jan 2022
Posted 08:43:01 Thu 13 Jan 2022

Posted at 09:23:54 Thu 13 Jan 2022

"If not, what is the purpose of this piece, and how does it work?"

It can be used in any scenario where one wants to isolate a section of track as an alternative to Insulated Rail Joiners. The piece includes sockets to accept X8011 crimp terminals. Hornby's approach to wiring is to try and eliminate the need to solder wires, hence the X8011 compatible terminals. If the alternative IRJs were used, then alternative arrangements using either track power connectors or soldering would be required. Thus from a Hornby perspective, the R618 combines everything into one single track piece.

In Hornby instructions [there are some showing this product in use] it is commonly used to resolve a 'Reverse Loop Short Circuit' on a DC Analogue powered layout.

It CAN NOT be used for a programming track unless more complex switching wiring as described by Rob is used. In its standard [as meant by Hornby] installation implementation. Any metal wheels bridging the isolation gap as you drive a loco onto the isolated siding will connect the controller programming output and track output together and blow the controller. Not only that, but even if no damage was done, once the loco was on the programming track, there would be no track power to drive it off again back onto the main layout. This is also what Rob's complicated switch wiring does. It allows the isolated section to receive track power when needed as well as more robust isolation to protect the controller.

Personally, I would favour the official Hornby approach which is to use a completely separate and portable physical piece of track. Rob's switching arrangement is not 100% foolproof and needs concentration. Let's say the switch is in the programming and not in track power position and you turn up the controller to move the loco back onto the main track, nothing happens and you have forgotten that you have not thrown the switch, so you push the loco thinking it just needs a nudge. Then in pushing the loco you bridge the isolation gap and the result is you damage the controller. Yes you might think this is unlikely, but what if the switch is in the programming position and you accidentally drop a metal object onto the track bridging the gap. The metal object might be a metal watch strap that contacts the rails whilst positioning the loco. These are all feasible albeit unlikely, the completely separate programming track is more likely to eliminate any such possibility from happening.

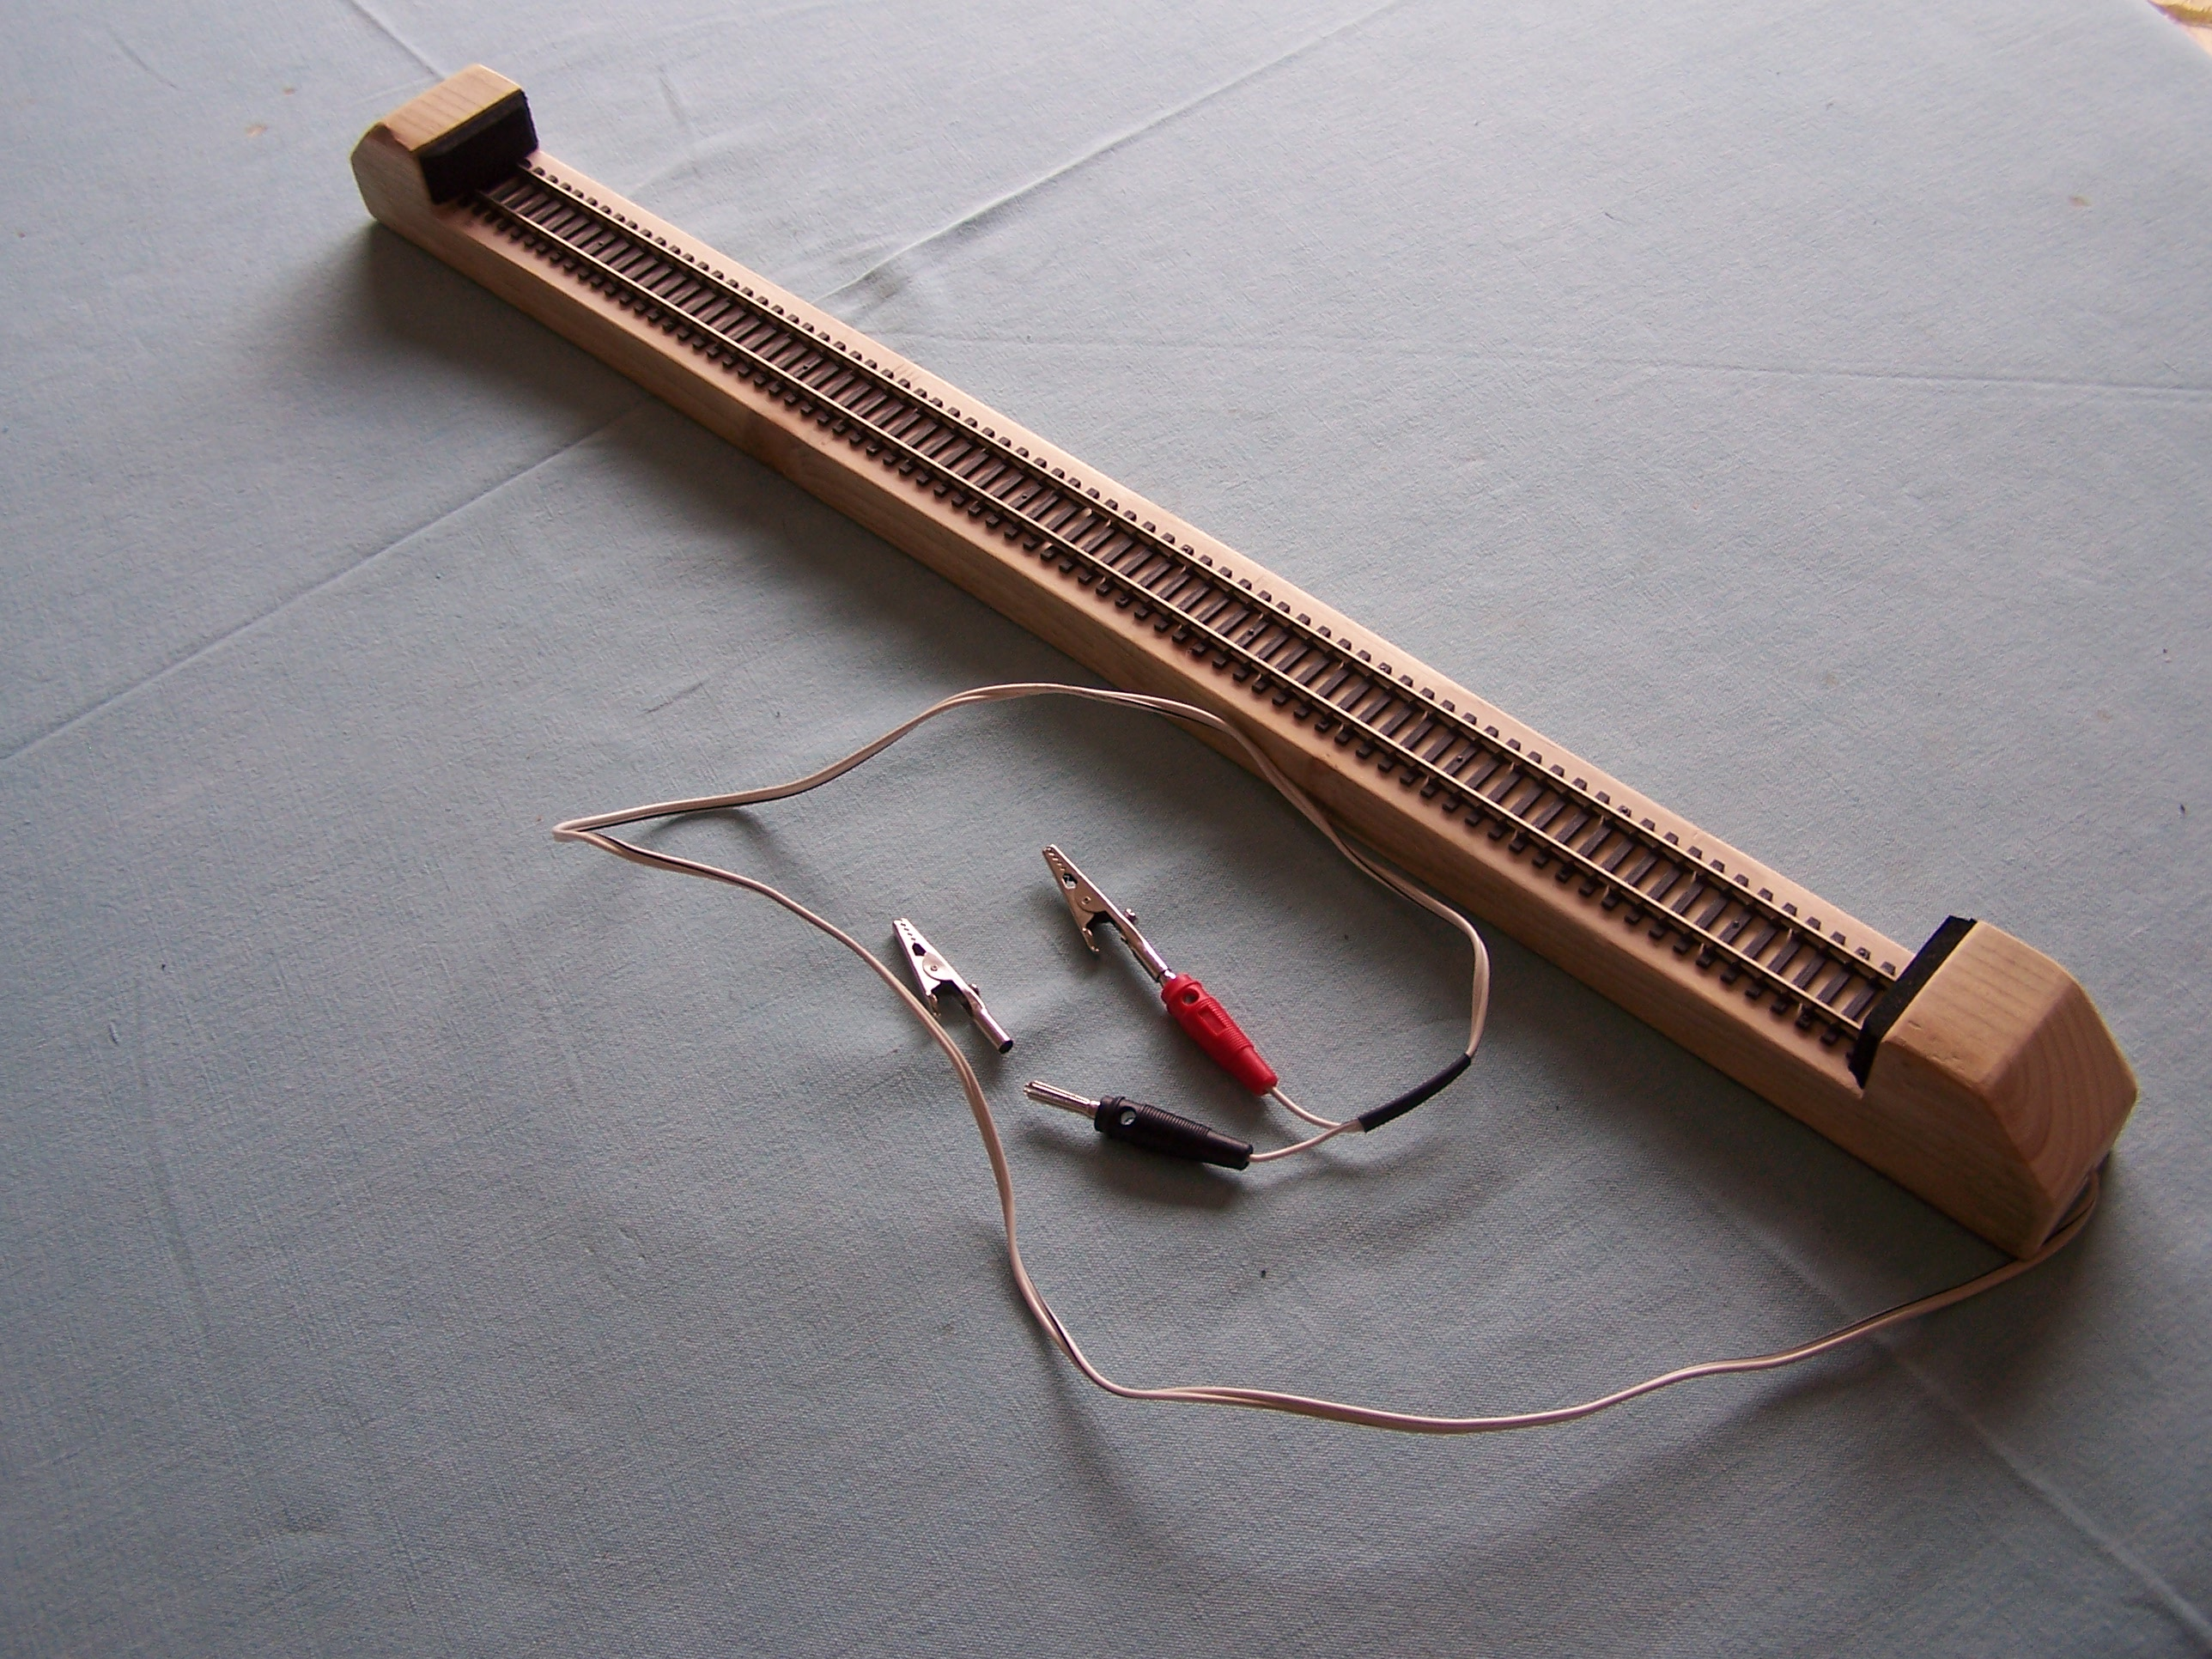
This is mine, posted to give an idea. I have some banana sockets on my control panel location that wire to my Elite 'PROG' output, thus I only plug my track piece in when I need it.

Chris.......Making the 'Wood in the Trees' visible.

Last Edited 09:36:14 Thu 13 Jan 2022
Posted 09:23:54 Thu 13 Jan 2022

Posted at 09:35:20 Thu 13 Jan 2022

Now I’m very glad I asked. I wasn’t planning to use it to bridge a gap between main and programming track, but used it as an example, which I clearly got very wrong. However the consequences for doing so sound rather catastrophic.

As always, extremely informative and helpful information provided by 96RAF and Chris.

My name is long, so just call me Lee.

Last Edited 09:36:59 Thu 13 Jan 2022
Posted 09:35:20 Thu 13 Jan 2022

Posted at 10:36:07 Thu 13 Jan 2022

SB

Last Edited 11:00:22 Thu 13 Jan 2022
Posted 10:36:07 Thu 13 Jan 2022

Bassett-Lowke Members Login

Forgotten Your Password?

Need to Register?